Wednesday, December 5

Christmas Giveaway


As I continue on my homemade Christmas Journey, a thought occurred, possibly in the wee hours of the night, when most creativity strikes....a little handmade giveaway.  I've not done a giveaway for so long, which means it must be time, and what better time than the season of giving.  So to say thanks for for spending time here on this special little place of mine, I'm offering one person a package of my handmade goodies.  Some things I've been making for ages, some just now...but all I love to make and fill my need to express my creativity in all sorts of ways.

The Christmas Giveaway Package will include

:: 1   An Oh So Handy Key Fob - in true MiraNarnie style, my favourite yellow and grey fabric on black webbing.
:: 2   Set of 4 napkins made with light weight cotton, with rolled edge.
:: 3   Clay bead necklace strung on leather strap in gorgeous hues perfect for summer!
:: 4   Pin cushion - a cute double sided fabric pin cushion filled with poly fill and adorned with ribbon and buttons.
:: 5   Boy's Movie Quote Print (A4 size) - Don't forget the boys in your life...for those that love the movies, this will provide loads of fun!
:: 6   Six Christmas tags decorated with Christmas washi tape and red twine - all your need to do is write on them and pop on a gift! 

You could keep them all for yourself or this little package might help tick a few last minute gifts off your list!

Ok, so how to enter?  I was going to make it a random draw, but apparently that doesn't comply with our States Gaming Requirements. So it has to be a game of skill.  These are the T's & C's of this here giveaway.

Please, make sure you are a follower of this here blog and comment answering the following question:

              Tell me why you need or would like this Handmade Christmas Package?

The Giveaway will be open from 8.30am (EDST) on Wednesday 5th December and close on Tuesday 11th December at 12 midnight (EDST).  The prize winner will be judged by my darling husband whom I will read out only your answers so he wont know who said what! This is a game of skill and the most interesting/entertaining comment will win.  The giveaway is open to all Australian Residents, and the winner will be announced on Wednesday 12th of December and contacted by email or via your blog, so be sure to make sure I can contact you.   Decision is final, and one winner will win all of the above and package will posted directly to the winner.

Good luck

xx

*** Competition now CLOSED!  winner was Em from Tea cup too  - Congrats Em xx


Tuesday, December 4

tissue paper tassel garland {tutorial}


I've seen a few fancy shmansy tissue paper garlands out and about lately. Boy do they leave your pockets fleeced.   I do love a bit a decoration that can add a bit of pizzazz no matter what type of year or even when the party and festivities are over.  But surely there had to be a way to create some of that loveliness with only a fraction of the price.  Well, I proved sometimes sense is better than dollars....All you need is a couple of packets of tissue paper and twine (or you can thread this onto whatever string you like). 

I chose four packets of tissue paper at $1.50 a packet
1 ball jute twine for $2
= $8 total and I've got enough to make probably another 3-4 garlands! 

Here is what you do...


::Take your goodies, pick a lovely spot with some beautiful music on, a cuppa next to you and even the kids will enjoy this one. 

  :: cut lengths of tissue paper about 1-2cm wide.  My tissue paper came in three sheets. I cut three lengths and used that as one bunch (so in effect nine lengths of paper).
:: bunch your nine lengths (or you could go more or less) and twist a little in the middle. 


:: make the centre of the paper the top by folding it in half and gather the tails together. Give them a little fluff up if they need it.


:: Get your twine, and leaving some at the start for hanging later, start wrapping around the twisted sections of your tissue paper. 
:: wrap about 8-10 times
:: secure each side of the twine by looping the twine and slipping it over the top


 :: move along the twine and add each of your created tissue tassels in the same way
:: leave as much or as little gap as you like.  I think I could have left less of a gap, but you can always add more tassels to these if you like. 
:: choose a colour pattern or go for a random selection 


 ::  Hang your tissue paper tassel garland and sit back and marvel at your work for less than the price of a cappuccino. 


Sunday, December 2

this week


Well this week saw the end of November, the end of Spring and the start of Summer.  Hello countdown till Christmas!!

We also got up to some normal activities during the week, although that thunderstorm of Tuesday morning was a cracker!


:: Baked foccacia bread thanks to an easy recipe from Tania.  It's so simple.  I halved the recipe as it makes enough for four of us for a day (3.5 cups flour, 1.5 cups water, 2tsps yeast, pinch of salt and sugar, and 1/4 oil - mix wait till it doubles and bake for 30 mintues till golden).
:: Enjoying time in my daughters room.  Her room is the only room with a west window and on a glorious sunny day it just has the most amazing glow.
:: The children excited by the thunderstorm and rain we encountered on Tuesday morning before school.
:: Art work framed and adored by all

What did you get up to this week?  More goodness at Em's Shack! 
xx

Friday, November 30

just in time...


I thought I had been rather organised this year in the lead up to Christmas.  I have decided to give many handmade gifts and use the flexibility of online shopping for those that I want to buy for.   I managed to snap up a Melbourne Zoo for a family pass for friends,   two magazine subscriptions from MagShop (it's the gift that gives all year!!).  I also thought this coffee machine would make a great gift and it was delivered the next day.  My good friend Blurb speedily made and sent me gorgeous personalised diaries with pictures of the kids throughout the year.  It's a good feeling knowing I could avoid the shopping centres this year.

But the one item that I thought I had oodles of time for was the advent calendar.  I realised I had about 48 hours till countdown began!  I did find myself with some time, however it was so hot there was no venturing out to any craft store near or far.  So we used what we had at home searching for inspiration high and low.  My darling daughter loves to paint and draw and the collection when I pick her up from Kinder over the course of the year has resulted in a large draw full just of her artwork.

So with a few careful selections, a cut, snip, glue, print, staple and improvisation we made our own advent calendar.  I bit of jute twine strung up with some picture frame hooks and some quick tassels made with crepe paper and it has a whimsy Christmassy vibe.    A secret activity hidden behind each one, and I am feeling ready for the festivities.

Now is Santa is listening or reading...I did on my travels spot this gorgeous set of Orla Kiely tins from Lark! I do hope I've been good!

Have got your advent calendar ready?


Thursday, November 29

making..


After much fun the other weekend making some Sculpey clay beads, I thought it would be a great idea to have another go, learn from our mistakes and thread some delights as gifts for the teachers this year.  One already has been gifted.  It's my sons teachers birthday today and he selected the colours and we gift wrapped it up.  I like that the beads are still a bit rustic and as a dear friend pointed out, it's nice they don't look like they've just been produced by a factory.

If you want to give this project a go, which is totes easy with the small people in your world, then just grab some Scupley or Fimo clay, cut, roll in your palm or shape to your desired design.  Use a skewer to make a hole in the centre large enough for your choice of thread, then bake in the oven as per the packet instructions.  When they are cool, get creating with making whatever combination you like!   So simple!

Are you crafting up gifts for teachers and special others?
What are you making?

Joining in with these delightful creative folk. 

xx


Wednesday, November 28

the book {what type are you?}


I love reading.  It's a lovely relaxing hobby of mine when I'm not stitching, sewing or baking.

Earlier this year I was a bit perplexed about my Reading List and how long it was getting.  I wouldn't be half way through a book without having had added five more to the list.  It was growing at incredible speed that really something had to be done.

I embarked on a Challenge.  Yep, that was all good and most days I was managing, somedays not and sometimes finding myself perched on the couch at 2am after a solid reading session.

Todays version of a book is oh so vast and different.  Where once you could only hold the paper or hardback variety, now the options are endless and millions of books are within reach without even heading out your door (or into a bookshop! Gasp!).  I must admit that the ibooks do have their benefits and learnt this last year whilst overseas.  I allowed myself one book...thinking surely I wont have time to read, but a few glorious sessions at the beach whilst the kids played contently it was finished.  Finding an book in English in a European country was like trying to find a jar of Vegemite at the local deli, so I promptly downloaded and book on my iPad and I was a happy traveller once again.

Over the last few months though I've adapted my reading style.  There is just not enough time in the day to read as much as I would like, but I can listen.  Yes, yes, the audio book. I've dowloaded a simple little App on my iPhone that allows me to listen to (at my leisure) a book.  The idea first came to me whilst driving home from night shift....the radio was just not cutting it.....  And so it started.

I still read real books don't worry...

But the beauty of an audio book is that you can read listen whilst folding the washing, cooking dinner, mopping the floor, exercising, driving and even sewing (yes it definitely beats the sound of the Janome going full pelt!).  I'm knocking off some classics via audio books, so The Great Gatsby, Northanger Abbey, Jane Eyre and Tess of the D'urbervilles have all been crossed of the list.  Is that cheating I wonder or multi-tasking?   I've even noticed my library* now stock a huge range of new relase audio books...perhaps I'm onto something! 

Tell me do you listen to a book? 
What do you prefer? The olde worlde kind, the new age kindle or iPad variety?

*you borrow the the audio transmitter and attach your own headphones and battery.  I checked for fear that it came with its own set of headphones (ewwww!) 


Tuesday, November 27

iPad fabric envelope tutorial


I've wanted a groovy little case for my iPad for like ever and the other day I finally set out to make one. Taken from oodles of inspiration from Pinterest I decided on an envelope style so that, when it's not in use for my iPad, it could be a great document or notes carrier! 

Below I show you what you'll need to whip up one of your own. 


Take some fabric of your choice.  For this project you'll need two types, one for the outer and the other for the lining.  Cut a square of each 36cm x 36 cm.


So then you'll have something that looks like this.  (mind you could iron your fabric before photographing it if you choose!) 


Lay them right sides facing and sew around the edge leaving a 6mm seam allowance and a small gap in one side to turn the right way out. 


Once you've done that, clip the corners and turn the right way out and give a little press with your iron. 
Position your iPad in the centre on a 45 degree angle so as to then work out your envelope seams. 
 An easy way to do this I found was to turn your piece with your outer fabric ontop.  Place the iPad in the centre and join the three triangle peices together with pins.  This will ensure the right fit.  Remember do allow a little give as you don't want to be queezing your iPad into a pair of skin tight jeans!


take the iPad out and carefully stitch these two seams together


Turn the right way out and this is what it should look like. Now for securing the top flap to the rest. Initially I was going to use a press stud, but thought that might not be ideal having something you have to push down hard on when a iPad could be inside.   
So I opted for some hat elastic at the tip of the flap and a decorative button at the bottom of the envelope.  Given the elastic was not sewn in, I covered up the exposed tails with a bit of felt attached with visoflex.  The little metal plate hides the stitching on the top and the button was hand sewn on. 


Now your iPad will be fancy dressed whenever out and about!  Or make some up as Christmas gifts..would be ideal for that difficult uncle or brother that seems to lurk on the bottom of the shopping list! 

I've added a tutorial button to the top of my blog.  I'm hoping that will give me the inspiration to fill that page full of wonderful how-to's! 

happy days
xx


Monday, November 26

spring clean


I've done some much needed spring cleaning on my blog.  Can you tell?  It was prompted by a much needed lifeline offer from a dear friend to help with making a new blog header (something that frightens the techno-phobic nerves in my body)....

So whilst I was thinking what type of new blog header to create, I started cleaning the shelves, tidying up a bit, putting things in different spots and really asking if all these accessories were relevant and required.

Then, I had a bash and doing a new blog header and bam...it worked!  wow...it's only taken about two and half years of blogging to finally work out all the technical bits (read: fluke!)

What do you think?  Do you like the new look MiraNarnie?  And what do you think makes for a really pleasant blog format??

Friday, November 23

this week


Some weeks I don't feel like I achieve much beyond the bear minimum...with drop off, pick ups, week day dinners, after school activities, meetings and work.  It's also the added madness that comes with the end of the year, so I'm not surprised I feel like I'm chasing my tail.

But as I look back at some of the photos I snapped this week, I'm reminded that the simple things are the extras that make the week a little special...

~ crafting preparation for a project next week
~ some clay necklaces made by the kids and finished off with some leather now all hanging together
~ a soda bread and polenta
~ a sneak peek at an impromptu project that hopefully I will make into a tutorial (no sonia, it's not the tablecloth!)
~ admiring the gorgeous growth in our purple carrots
~ getting super excited about my first lemons
~ and what would be a week in our life, if time was not spent swinging through the breeze

...what did you get up to this week?
Do you need to remind yourself that you did achieve loveliness and goodness?

Joining in over at the Beetle Shack! 

Thursday, November 22

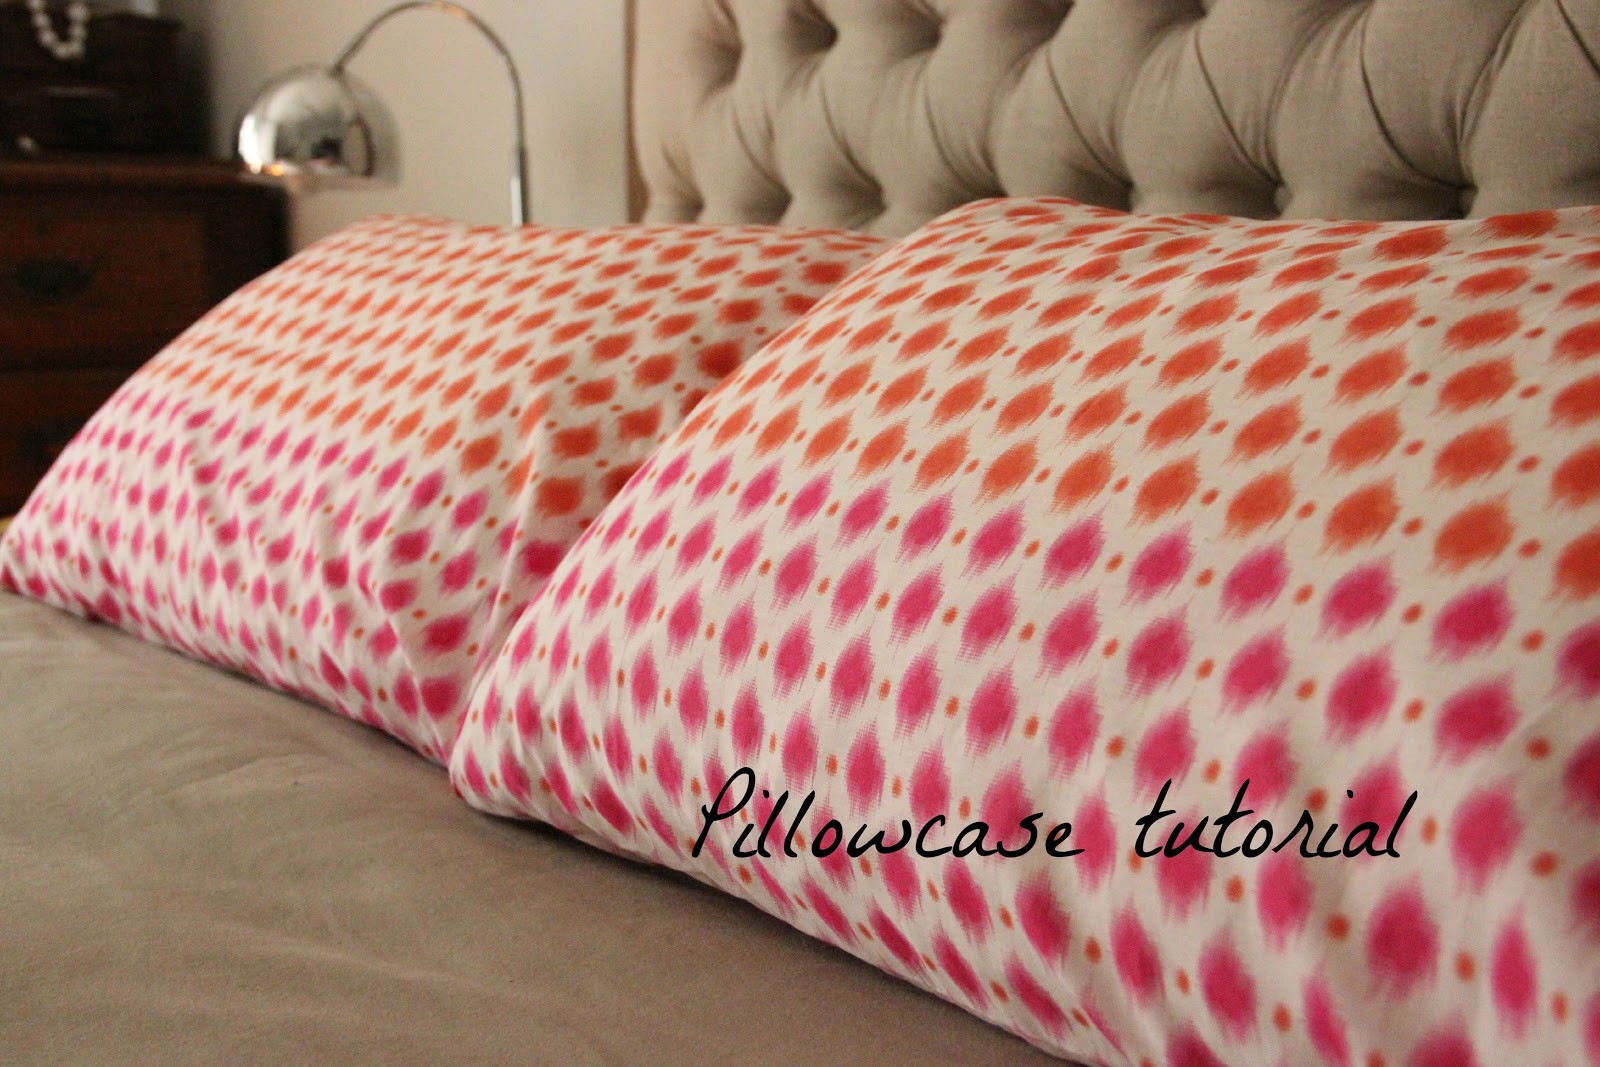
The Pillowcase {a tutorial}


Pillowcases are something we all have.  Some have heaps, some have a few, and somepeople scour op-shops to turn pillowcases into glorious little dresses for equally glorious little girls. 

Until the day I revamped my bed linen, I'd never made a pillowcase.  And never knew how easy it was.  Well actually I'm pretty sure I knew it would be easy, but I just can't quite comprehend why it took me so long to get making them. 

And now I'll show you.  It's super easy and if you have a sewing machine, and can sew straight lines then this tutorial is a winner for you.  If you are an advanced sewer then just be reminded that the simpliest of things can also make your day happy....sometimes we all need a quick ten minute project!

Here is what you need:


Fabric of your choice preferably 160cm wide or in length as then you can just cut one piece.
Thread
a few pins
Scissors
Iron and board all set up ready to go


  • Cut your fabric 160cm by 48cm (this will allow for about 2 cm seam allowances on the short end and 6mm seam allowance on the length).  


  • Iron each short end 5mm and then again to create neat seam.  Stitch using a straight stitch across these two ironed edges.


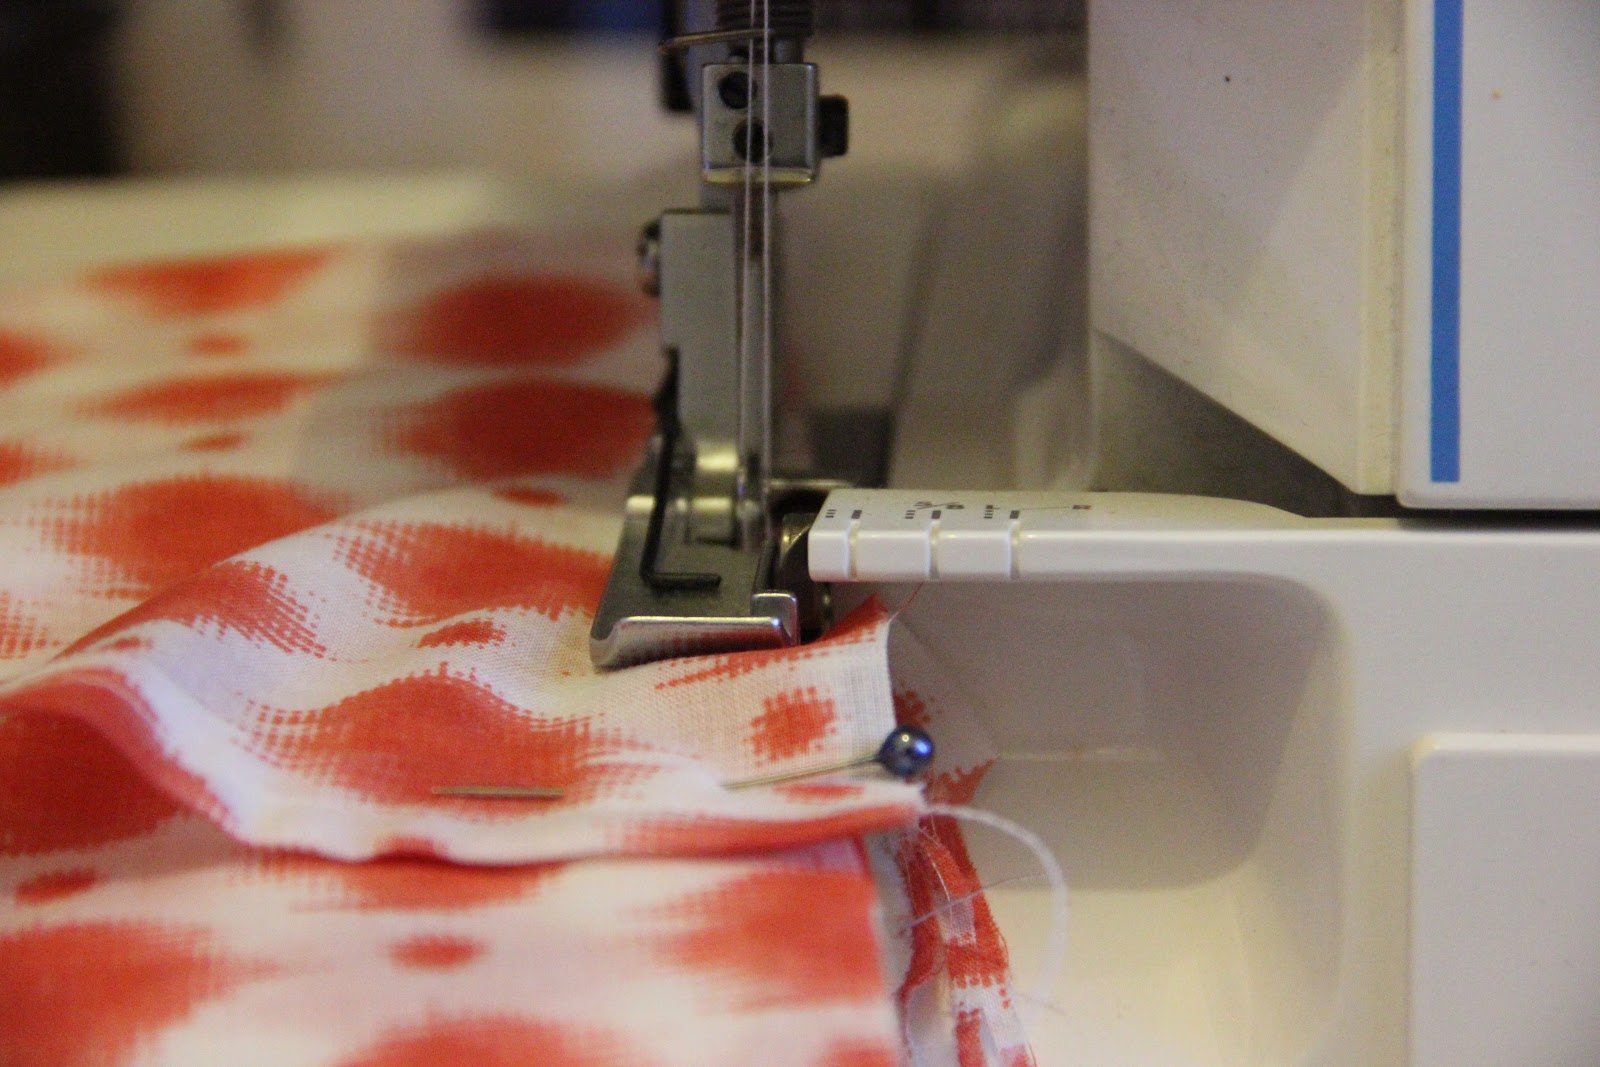
  • Now, fold your fabric right sides facing to 70 cm which will make 15 cm of fabric over hanging from the length underneath.  Fold this flap back down over so that the fold line meets the short end and secure with a few pins.  It will seem like you are closing up your pillow,but you are making the envelope casing.


  • All you have to do is serge, zig zag or single stitch (if you don't mind a raw edge!) down both sides, sewing through all layers.


The envelope opening that you created folding down the excess fabric will allow you to turn your pillowcase the right side out.


Fill with a pillowcase, stand back and admire your work!   Now, go make more in all the colours and patterns your hearts desire! Makes a great gift too!

Simple hey!

Joining in with these creative folk